Last updated October 15, 2026
ADU Warning Signs: A Ventura Homeowner’s Reference Guide
Most ADU construction failures are already locked in before the drywall screws go in. Shear walls nailed on the wrong pattern, undersized electrical panels, and missing vapor barriers don’t announce themselves. They sit quietly behind finished walls, then surface years later as cracks, tripped breakers, and mold. Homeowners in Ventura rarely get a second chance to see these mistakes because builders rarely explain what correct work looks like at the stage when it’s still visible. This guide gives you that baseline: what normal looks like at each phase, what wrong looks like, and the questions that catch a problem while it can still be fixed without tearing the house apart.
Quick Answer
The earliest and most reliable warning signs of an ADU project going wrong are not cracks or leaks. They’re contractor behaviors: unexplained permit delays, crew changes without notice, and requests to pay subcontractors directly. During construction, visibly incorrect shear wall nailing, improperly lapped weather-resistant barrier, and an undersized electrical panel are the big three red flags before walls close. After completion, doors that bind in the first year, grading that slopes toward the foundation, and cracks wider than 1/8 inch merit immediate attention. This guide explains how to spot each one in a Ventura build, and when to call a professional.
Table of Contents
- Pre-Construction Red Flags in Contractor Behavior
- Framing-Stage Inspection: Shear Walls, Headers, and What the Inspector Won’t Catch
- Waterproofing and Flashing: What to See Before Stucco or Siding Covers It
- Electrical and Mechanical Rough-In: Panel Sizing and Permit Card Sign-Offs
- Foundation and Grading: Reading the Ground Before Concrete Goes In
- Finished Product Warning Signs: The First Season Tells You Plenty
- Prefab and Modular ADUs: Different Warning Signs, Same Discipline
- Common Mistakes to Avoid
- When to Call a Professional
- Frequently Asked Questions
- The Bottom Line
Pre-Construction Red Flags in Contractor Behavior
Most people think construction problems start with construction. In our experience across Ventura, Los Angeles, and Santa Barbara counties, they usually start before a single scoop of dirt moves. The contractor’s behavior during design, permitting, and mobilization tells you more about how the job will go than any render or brochure. A good builder runs a predictable process. A troubled project almost always announces itself early through small, easily rationalized irregularities. Here are the ones we tell homeowners to take seriously.
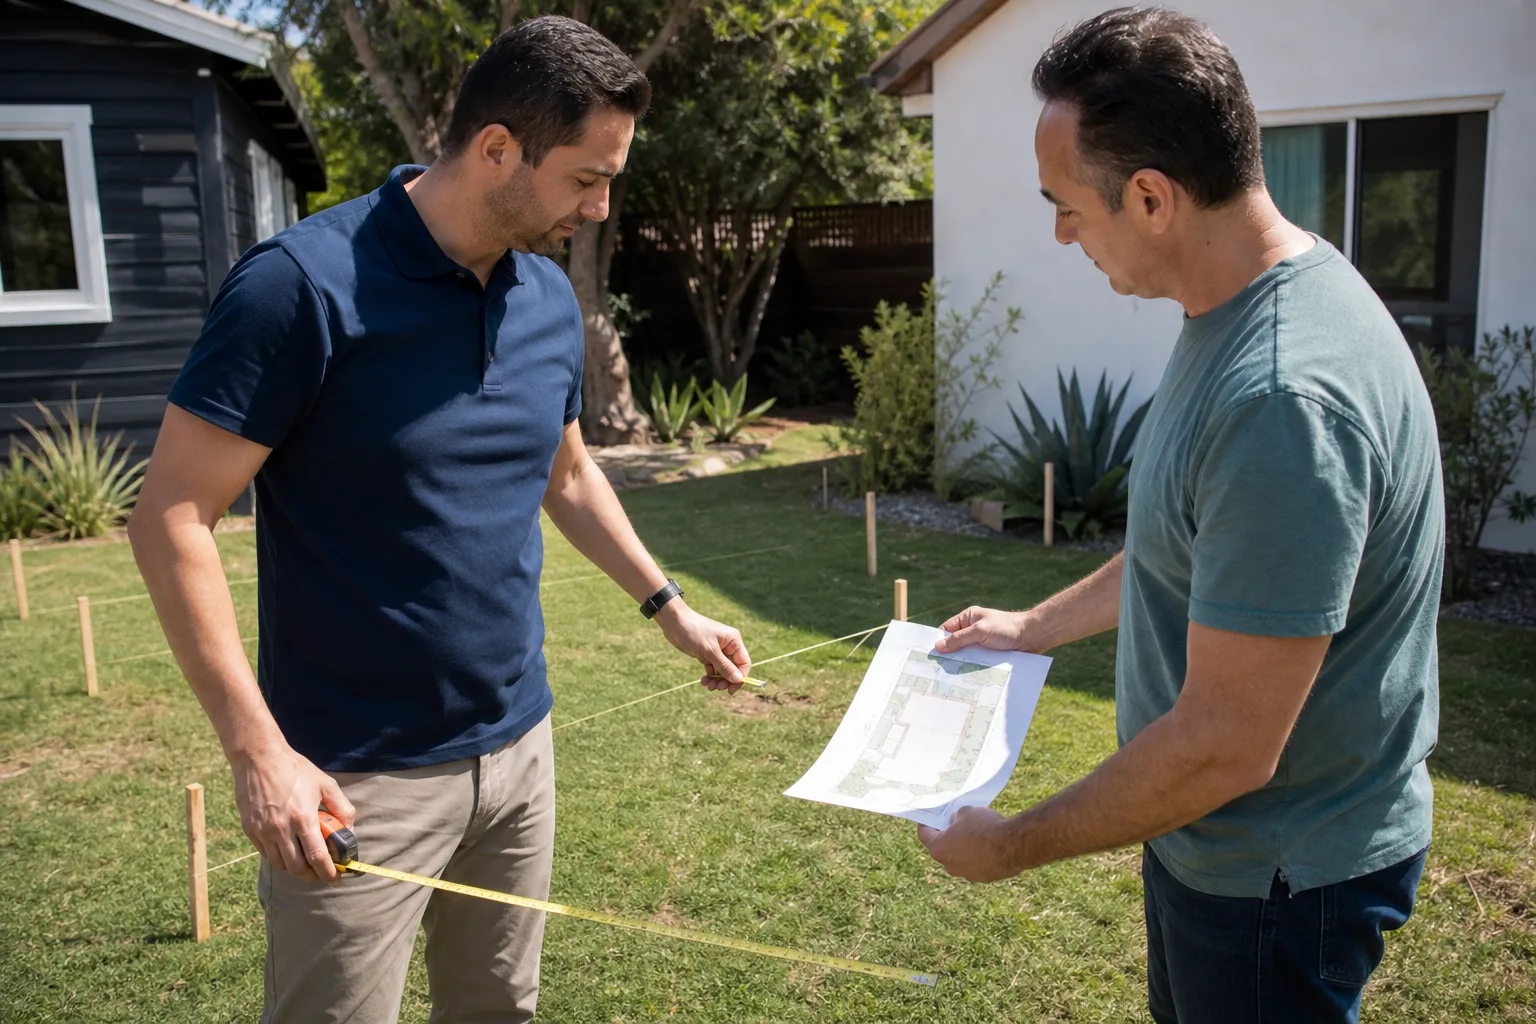
Unexplained permit delays. Ventura’s building department processes ADU permits more slowly now than it did before the 2020 ADU mandate wave. Three to five months is normal for a full submittal. Delays happen. What matters is whether your contractor can explain the delay in specific terms. “The city is backed up” is not an explanation. “The plan check returned comments on fire sprinkler placement and we’re revising sheet A-3” is an explanation. A contractor who goes silent when you ask about permit status, or who blames the city in vague generalities, may be stalling because they haven’t actually submitted the plans, or because they’re juggling too many projects and yours isn’t next. Ask to see the plan check comments. Any legitimate builder can show them to you.
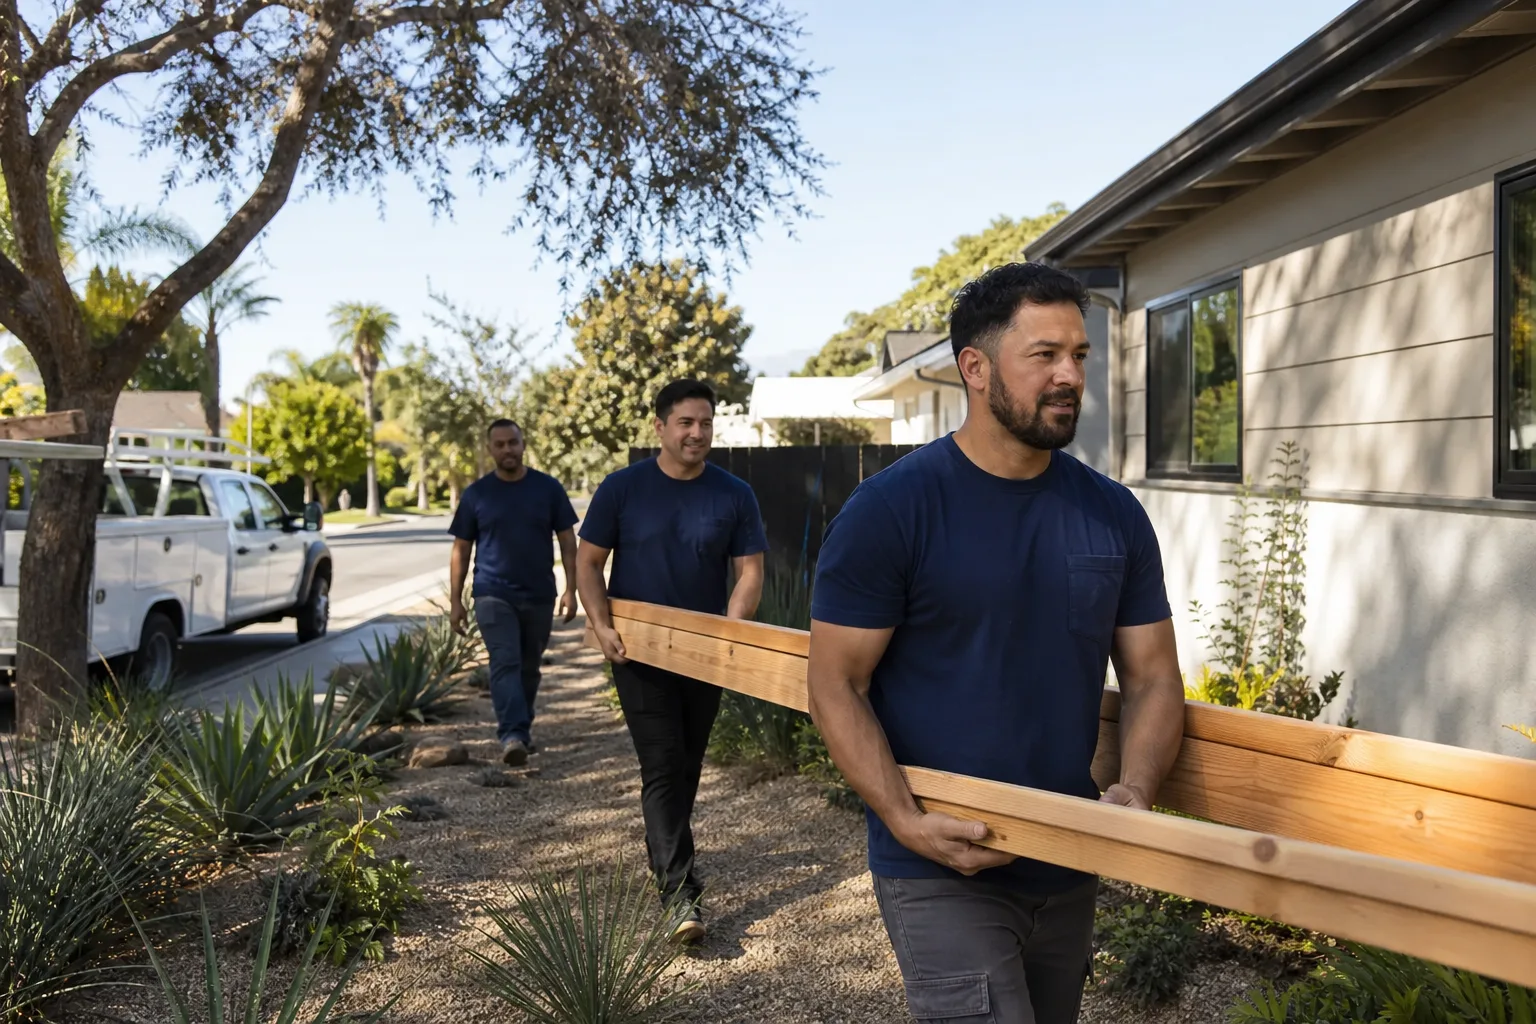
Crew changes without notice. It’s normal for a framing crew to hand off to electricians who hand off to drywallers. That’s the trade sequence, not a red flag. The problem is when the people doing the work change with no explanation and no continuity of supervision. If the site supervisor you met at contract signing disappears in week two, and a new face shows up with a different understanding of the scope, that’s a management failure. Specific question to ask before you sign: “Who is the site supervisor for my project, and will that person be there every day?” If the answer is vague, expect vagueness downstream. At Sutton ADU Ventura, the homeowner receives the names and photos of every crew member before they arrive at the property, a standard that came out of watching too many homeowners open the door to strangers they couldn’t identify.
Requests to pay subcontractors directly. This is one of the strongest early warning signs of a contractor in financial trouble. In a properly structured project, you pay the general contractor, and the general contractor pays the subs. If your builder asks you to write a check directly to a framer, an electrician, or a concrete sub “to keep things moving,” it means the builder has lost control of the money. It also muddies liability. If that sub does defective work, you may have no contractual relationship with the builder to pursue. Never pay a subcontractor directly. If it comes up, stop the project and get answers in writing.
Other pre-construction red flags worth noting: a written scope that says “per plans” without actually attaching the plans, a price that appears materially lower than every other bid without an explanation of how, and any refusal to put change-order procedures in writing. Ventura homeowners adding an ADU are typically spending $180,000 to $400,000. That’s a purchase where paperwork is not optional.
A plain-language baseline for Ventura: your contractor should be able to tell you, in writing, what the permit process will cost, how long it should take, and what happens to the schedule if plan check comments require revisions. If they can’t, that’s the first warning sign. Start with a Ventura ADU builder who treats paperwork as part of the job, not an obstacle to it.
Framing-Stage Inspection: Shear Walls, Headers, and What the Inspector Won’t Catch
Framing is the window. Once drywall goes up, the shear wall nailing pattern, the header sizes, and the hold-down connections are gone from view, possibly forever. If you only walk your ADU site once during the entire build, walk it during framing. And walk it before the city inspector arrives, because a city inspection in Ventura verifies code minimums and structural safety. It does not verify that the builder caught everything. Here’s what to look at, and what correct looks like.
Shear wall nailing: the pattern matters
A shear wall resists the lateral forces of wind and earthquake. In Ventura, that’s not theoretical. The city sits in a high seismic zone, and the local building code requires shear wall nailing at specific spacing, typically 3 inches on center along panel edges and 6 inches in the field, though the exact spec depends on the structural engineer’s calcs. What the homeowner should see: a consistent grid of nails, with no area where nails are clearly further apart than the spec in the approved plans. If you see long stretches of wall with nails spaced at 12 inches or more where the plan calls for 3, that’s a structural defect. The wall will still stand. It may not stand through the earthquake it was designed for. You can compare the nailing visually against the plan sheet for the specific wall. If your contractor won’t show you the plan sheet, that’s a separate red flag.
Headers: undersized openings show up later as sagging
A header carries the weight above a window or door opening. An undersized header typically does not fail suddenly. It sags, slowly, over years. The first symptom is a door or window that starts binding in its frame, or a visible bow in the wall above the opening. During framing, the homeowner can check the header size against the plan. A 6-foot opening in a load-bearing exterior wall in a Ventura ADU should typically be carrying a 4×10 or larger engineered header, sometimes a pair of 2x10s or 2x12s sandwiched around plywood, depending on span and load. If you look up and see a single 2×4 laid flat across a 6-foot opening, that’s not enough, and the inspector may or may not catch it. City inspectors catch many things. They do not catch everything, and they are not liable if they miss it.
Hold-downs and anchors: you want to see steel
At the ends of each shear wall segment, you should see steel straps or bolts connecting the wall to the foundation or the floor below. These are hold-downs. In a Ventura ADU, hold-down requirements are significant because of seismic exposure. If a wall seems to have no metal connection to the concrete at its ends, ask about it. The answer should be specific and immediate.
What the city inspector approves, and what that means for you
A Ventura building inspector’s framing sign-off means the structure meets minimum code at the time of inspection. It does not mean the building exceeds code, that every nail is perfectly placed, or that the workmanship will not produce problems later. Inspectors are not quality-control engineers. They’re compliance checkers. The homeowner who wants a higher standard than minimum code needs to look during the framing window, or hire someone who will. We’ve walked homeowners through framing inspections on their own ADU projects, and the most common reaction is surprise at how much can be spotted by an informed layperson with a tape measure and the plan sheet in hand. You don’t need to be an engineer. You need to know what the plan says and whether the wood in front of you matches it.
If you’re planning a room addition or ADU in Ventura and want a builder who’ll walk the framing with you before drywall, talk to a Ventura room addition contractor about a pre-drywall walkthrough. A builder who invites that conversation is a builder who isn’t hiding anything.
Waterproofing and Flashing: What to See Before Stucco or Siding Covers It
Water is the most common destructive force in any California building, and Ventura’s coastal moisture makes it worse. The weather-resistant barrier, commonly called WRB or house wrap, is the plastic-like sheet stapled over the sheathing before stucco, siding, or panel cladding goes on. The flashing is the metal at windows, doors, roof intersections, and any horizontal transition. Both become invisible once the exterior finish is installed. The time to look at them is during that narrow window between framing sign-off and exterior finish. Here is what correct looks like, and what wrong looks like.
Weather-resistant barrier lapping: water flows down, always down
The WRB must be installed so that every upper layer laps over the layer below it, like shingles. Water runs down. If a lower piece of wrap overlaps an upper piece, water running down the wall will run behind the lower piece, into the sheathing, and stay there. When you look at the wall before stucco, every horizontal WRB seam should show the upper piece on the outside of the seam, lower piece behind it. Same rule at vertical seams, which should overlap by at least 6 inches. If you see gaps, reversed laps, or WRB that is torn and not taped, that’s a defect that will put water behind the wall. In Ventura’s wet winter months, that turns into mold inside the wall cavity, where you won’t see it until it’s serious.
Flashing at windows and doors: the metal needs to direct water out, not in
Correct flashing sequence around a window: a metal or flexible pan flashing at the sill, then the window installed, then side flashing, then a cap flashing at the top that overlaps the side flashing, so water running down the wall is directed out and over the face of the window. The most common defect is no top flashing at all, or a top flashing that tucks behind the WRB instead of on top of it. Six months after stucco, a window without proper top flashing leaks. It shows up first as bubbling paint or staining around the window interior, or a musty smell. By then, the fix is a stucco cut and a flashing retrofit, which costs thousands. Ventura homeowners in older coastal neighborhoods like Midtown and the Avenues see this pattern constantly.
Roof-to-wall intersections: where leaks are born
Where a new ADU roof plane meets an existing wall, a stepped flashing and counter flashing detail is required. If the roof simply butts against the wall with a bead of sealant, it will leak. Sealant is not a waterproofing system. It’s a temporary patch with a short lifespan. Look for visible metal step flashing at each shingle course, and a counter flashing let into the wall above. Prefab brands like Abodu and Cover factory-built modules have these details engineered in the plant, which is one reason factory construction can be tighter than stick framing. But even a factory-built module needs correct field flashing at the marriage line where modules join. The same visual checks apply.
Stucco and exterior systems: the finish is the second barrier, not the only one
For ADUs finished with traditional three-coat stucco or James Hardie siding, the exterior finish is one layer in a layered system. If the WRB behind is wrong, no amount of stucco will fix it. With James Hardie plank or panel systems, a correctly installed rainscreen gap of 3/8 inch or more behind the boards is part of the system’s water management. If the Hardie is nailed directly to the WRB with no gap, water that gets behind the boards has no drainage path. It sits against the house wrap and eventually finds a way in.
If you’re adding a home addition in Ventura, ask your builder to walk the WRB and flashing before exterior finish. The conversation should be photographable so you have a record of what went behind the walls.
Electrical and Mechanical Rough-In: Panel Sizing and Permit Card Sign-Offs
The rough-in phase is the second major visibility window. After rough-in inspection, the walls close around the wiring, plumbing, and ducts. If the electrical panel is undersized for the ADU’s real loads, or the mechanical rough-in wasn’t actually inspected, you’ll live with the consequences for the life of the building. The good news: this phase is the easiest to verify with your own eyes, because the sign-off is literally written on your permit card.
Electrical panel sizing: an ADU is not a bedroom
An ADU has a full kitchen, a bathroom, often its own laundry, and increasingly an EV charger circuit. The electrical load is not a small addition to the main house panel. It’s a second home’s worth of load. In Ventura, a typical detached ADU requires either a dedicated subpanel sized at 100 amps or more, or a main panel upgrade if the existing panel doesn’t have capacity. The warning sign is an electrician who wires the ADU as a 60-amp subpanel with the main house panel untouched and calls it good. That works until the new ADU runs a washer, AC, and range at the same time as the main house, and the main breaker trips or a feeder overheats. At rough-in, ask: “What panel amperage is the ADU feed sized for, and is it on the approved electrical plan?” The answer should match the plan exactly. If it doesn’t, stop work and call the electrician on record to reconcile it.
What the rough-in inspection sign-off looks like
Your permit card is the physical record of every inspection your project passes. After the electrical, plumbing, and mechanical rough-in, the inspector signs and dates the card on the line for that trade. If your contractor says “the inspector passed it” but your permit card shows no signature on the rough-in line, the inspection did not happen. That’s not a paperwork technicality. It means the building department has not verified that the wiring is safe to cover. Wall coverings installed over un-inspected electrical work are a code violation that may surface at final inspection, or worse, never, until a fault becomes a fire. Take a photo of your permit card after every inspection. It’s the simplest, cheapest quality-control habit in the book, and most homeowners never do it.
Mechanical basics: ventilation and exhaust
An ADU in Ventura needs a ventilation system sized for its square footage and occupancy. The California Energy Code requires more than an open window. Bathroom exhaust fans and kitchen range hoods must vent to the exterior, not into the ceiling cavity or the attic. At rough-in, the flex duct connecting each fan to an exterior wall cap should be visible and run taut, with no sharp kinks. A bath fan exhausting into an unvented attic space is a mold factory in a coastal climate. Look for the duct. If you can’t find it, ask where it goes. The answer should be immediate and pointable.
PEX or copper, and why you care about the manifold
Ventura’s water is hard. Both PEX and copper are used here, and both have trade-offs. The homeowner-visible detail at rough-in is whether the shut-off valves are accessible and whether the plumbing manifold, if PEX, is mounted where it can be reached later. A manifold buried behind drywall with no access panel is a future repair nightmare. Correct practice: manifold in an accessible closet, utility area, or paneled wall. If the plumber built the manifold into the wall cavity and the drywall crew is due Monday, that’s a problem to raise before the wall closes.
For a larger room addition contractor in Ventura, rough-in is the same story, same discipline. The permit card is the contract between you and the building department. Read it.
Foundation and Grading: Reading the Ground Before Concrete Goes In
The ground under a Ventura ADU has to do two jobs at once: carry the weight of the structure and shed water away from it. Failures in either become expensive and permanent. The foundation and grading phase happens fast, often within a week or two of breaking ground, so the window to look is brief. But these are also the easiest things to inspect, because everything is visible in a hole in the dirt.
Grading: water seeks the foundation unless the dirt says otherwise
Before concrete is placed, the ground around the perimeter of the future building should slope away from the structure at a minimum of 5% for at least the first 10 feet. That means for every foot you walk away from the foundation edge, the ground should drop about 5 inches. In practice, what you’re looking for is ground that visibly slants down as you walk away from the building pad. If the dirt around the foundation is flat, or worse, slopes toward the foundation, water will pool at the base of the new building. In Ventura’s winter rain season, that becomes hydrostatic pressure against the foundation wall, and eventually water inside the structure. Fixing it later means regrading the entire perimeter and possibly installing a French drain. Fixing it before concrete is a shovel and a level. Look at it. Every time.
Forms and steel: what’s in the hole matters
Before concrete placement, the footing forms should be the right depth and width per plan, with steel rebar positioned and tied. In a seismic zone like Ventura, the rebar and its embedment into the footing are structural, not optional. If you see no rebar in a footing that the plan calls for rebar in, that’s a stop-work item. The same goes for the vertical dowels that will tie the stem wall or slab to the footing. If the concrete truck is on the way and the dowels aren’t in, call it out. Concrete is harder to fix than anything else in construction.
Vapor barriers: the invisible moisture shield
A vapor barrier is the plastic sheeting laid under a slab-on-grade floor to stop ground moisture from migrating into the concrete and then into the living space. In Ventura, where coastal groundwater is close to the surface in many neighborhoods, this barrier is essential. A missing barrier shows up later as damp carpet, buckling wood flooring, or must. The time to see it is immediately before the slab pour. Look for the continuous plastic sheet with taped seams and sealed penetrations at pipes. If concrete is about to be poured directly onto dirt with no plastic, stop the pour. This is one of the easiest defects to prevent and one of the most expensive to fix retroactively. It’s also invisible after the slab goes in.
We’ve walked Ventura ADU sites where the vapor barrier was missing entirely, and the homeowner never knew until flooring started cupping 18 months later. The builder in those cases was not reachable for a fix. That’s why the pre-pour look matters.
Finished Product Warning Signs: The First Season Tells You Plenty
The first year in a new ADU is an information-gathering period. Some changes are normal. Some are the building telling you something. The trick is knowing which is which. Here’s the plain guide from our own post-project walkthroughs and warranty call experience in Ventura.
Doors and windows that bind in the first season
Wood moves with humidity. In Ventura’s dry summers and damp winters, a door can swell slightly and need a minor adjustment. That’s normal. What’s not normal is a door that binds consistently in the same spot regardless of season, or a window that requires force to open or close from day one. That usually indicates a header that’s undersized and sagging, or a frame that wasn’t set square. If a door binds at the top, the header is the suspect. If it binds along the latch side, the door is probably out of square in its frame. Both are fixable if caught early. Both get worse if ignored.
Cracks: settlement vs. normal curing
Concrete cracks. That’s not a defect, it’s a material property. The question is whether a crack is stable or moving. A hairline crack, 1/16 inch or narrower, that doesn’t change over the first six months, is typically curing shrinkage. A crack wider than 1/8 inch, or one that’s growing, or one that runs diagonally from a corner of a window or door, merits a structural look. In a Ventura ADU, a crack that opens and closes with the seasons suggests a moisture or drainage issue at the foundation. A crack that runs through the stucco in a stair-step pattern along mortar lines, or a straight diagonal from window corner to floor, suggests a shear wall or foundation problem. Take photos with a date stamp and compare monthly. Measurements beat impressions.
Grading that slopes toward the foundation after landscaping
Sometimes the foundation grading is correct at the time of construction, and then the landscaping changes it. A homeowner plants a garden bed against the new ADU’s exterior wall, builds up the soil, and unintentionally creates a slope toward the foundation. A planter against the wall retains moisture and directs it down. In Ventura, this is common enough that it deserves a mention in any homeowner reference. Keep soil, planters, and mulch a minimum of 6 inches below the top of the foundation and make sure water flows away. It’s a cheap insurance policy.
Electrical symptoms that mean something
Breakers that trip occasionally under heavy load are not automatically a problem. Breakers that trip repeatedly under ordinary load, or that feel hot to the touch, or a panel that buzzes, are a problem. In a new ADU, tripping the breaker when running the microwave and the toaster at the same time suggests an undersized circuit or a loose connection. A warm breaker suggests a loose connection at the bus. Both are fire risks, not conveniences. An ADU that dims the main house lights when the fridge compressor kicks on is telling you the panel may be undersized for the actual loads. Get an electrician’s read.
For Ventura homeowners who want a builder accountable in year one, the right place to start is with a written warranty that actually covers the walkthrough findings, not just the structural catastrophe. The 365-Day Done Right Promise at Sutton ADU Ventura covers workmanship defects for a full calendar year after completion. If a door binds because we didn’t set it right, we fix it. That’s what the piece of paper says.
Prefab and Modular ADUs: Different Warning Signs, Same Discipline
Manufactured ADUs from companies like Abodu, Cover, Dvele, and Plant Prefab have a different risk profile than a stick-built Ventura ADU, but the homeowner’s watchful eye matters just as much. Factory construction moves fast, and the critical site work happens in compressed windows. Here’s what to watch.
The factory makes the module; the site makes the building
A prefab ADU is only as good as the site preparation under it. The same grading, drainage, and foundation rules apply. A factory-built module set on a poor foundation will have the same problems as a stick-built addition on a poor foundation. The foundation contractor on a prefab project is usually a local trade, hired by the module company or the general contractor. Check the grading and vapor barrier before the set, same as any build.
Marriage lines and field connections
On a modular ADU with multiple sections, the seams where modules join are called marriage lines. These are field-sealed on site, and they’re a common failure point if the sealant or flashing detail is done wrong. Visually inspect the marriage line after initial installation. It should be flush, continuous, and dry. A gap or a discontinuity in the weather barrier at this line is exactly where water returns year after year. Same for roof seams. The factory can do everything right inside the module, and the building can still leak if the field joint is wrong.
Utility tie-ins are local work
The electrical panel, water, and sewer connections from the street or the main house to the prefab unit are local scope. They’re not in the factory warranty. If the prefab ADU arrives with a 100-amp panel but the electrician feeds it with a 60-amp circuit from a crowded main panel, the factory’s product is now running on an undersized supply. The same rough-in inspection discipline applies. Verify the permit card. Verify the panel feed. Ask the module company which scope items are theirs and which are local. The boundary is usually clean, but only if you ask.
We work with these systems regularly as part of ADU builds in Ventura, and the through-line is consistent: factory quality controls are excellent inside the module, and the building still rises or falls on local site work. Ask the same questions. Expect the same standards.
Common Mistakes to Avoid
- Trusting the final inspection as a quality check. Ventura inspectors verify code compliance. They don’t police workmanship. If you haven’t looked at the walls before they close, you’ve missed the only chance to see most defects.
- Not photographing the permit card after every inspection. The card is the record. If it doesn’t show a signature on the rough-in line, the inspection didn’t happen, regardless of what anyone says.
- Paying subcontractors directly. It breaks the chain of responsibility and often signals a contractor in financial trouble. You pay the general. The general pays the subs. No exceptions.
- Assuming the lowest bid is the best value. In Ventura’s ADU market, bids that come in 20% below the field almost always mean something is missing: permits, site work, a vapor barrier, a properly sized panel. Get the scope in writing.
- Waiting until the first winter to check drainage. By the time water is pooling at the foundation in January, the grading should have been corrected in July. Walk the site during the first rain, and don’t wait.
- Ignoring a door that binds or a window that sticks “because it’s a new house and it’ll settle.” Buildings do settle. Doors that bind in the same place in both dry and wet season indicate a structural issue, not seasoning.
- Not asking who will be on site before signing. In Ventura, homeowners open the door to the crew for months. If the builder can’t tell you who’s coming, that’s a red flag. A written name and photo before arrival is a reasonable standard.
When to Call a Professional
Some things are judgment calls. These are not. Call a professional if you see a crack wider than 1/8 inch growing over a 90-day period, if a breaker feels hot or the panel buzzes, if water is entering around a window or door during rain, if the ground around the foundation is holding standing water, or if your contractor has requested direct payment to a subcontractor. These are not DIY moments. They’re “stop and get an expert read” moments. For Ventura homeowners, a second set of eyes from an experienced ADU builder costs nothing. Sutton ADU Ventura offers free estimates in Ventura – call (350) 238-1748 to get a qualified set of eyes on any issue before it becomes a tear-out.
Frequently Asked Questions
Minor foundation repairs in Ventura typically run $3,000 to $15,000, while major structural corrections can exceed $40,000. The cost depends on whether the issue is drainage-related or structural. Call (350) 238-1748 for an exact quote on your specific situation – estimates are free.
A correctly nailed shear wall shows a consistent nail grid matching the pattern on the approved structural plan, typically 3 inches on center at panel edges and 6 inches in the field, with steel hold-downs visible at the ends of each shear wall segment connecting the wall to the foundation.
An undersized ADU panel shows up as breakers that trip under ordinary load, breakers that feel warm to the touch, or house lights that dim when the ADU’s appliances kick on. A dedicated ADU in Ventura should typically have a 100-amp or larger feed, not a 60-amp tap off a crowded main panel.
With a written price before work begins, the price shouldn’t change unless you change the scope. That’s the difference between a written line-item price and an estimate. Ask specifically whether your builder commits to the written number. Sutton ADU Ventura delivers a written price before any work starts, on every project, no exceptions. Call (350) 238-1748 to discuss your Ventura ADU.
You don’t need to be present for city inspections, but you should look at the permit card after each one to verify the signature and date. It’s the simplest quality-control habit available, and it takes one minute. You also want to walk the site at framing and rough-in before the walls close, regardless of whether the inspector has been there.
Hairline cracks of 1/16 inch or less that don’t change over six months are typically curing shrinkage. Cracks wider than 1/8 inch, cracks that grow, or diagonal cracks running from window and door corners toward the foundation suggest a structural or drainage issue that needs a professional assessment. In Ventura, seasonal soil moisture changes can cause movement, so track cracks with dated photos before concluding anything.
The Bottom Line
Most serious ADU problems in Ventura are invisible after the walls go up, which means the homeowner’s only real protection is knowing what to look at before the drywall and stucco close the view. The permit card tells you what was actually inspected. The grading tells you where water will go. The shear wall nailing tells you whether the building will hold in the next earthquake. None of this requires an engineering degree. It requires knowing what normal is. A builder who explains what normal is, in writing, before the work starts, and who stands behind the result in writing for a year after, is worth the attention. That’s the standard. The rest is visible if you know where to look.
Written by Miles Hartwell, Owner at Sutton ADU Ventura, serving Ventura since 2006.